Appearance
Locales
To display your website in a different language, you need to set the Locale in Esrhovig. Having more than one language for your website can improve the shopping experience for your customers.
Set Locales in Esrhovig
Here are the steps to set Locales in Esrhovig:
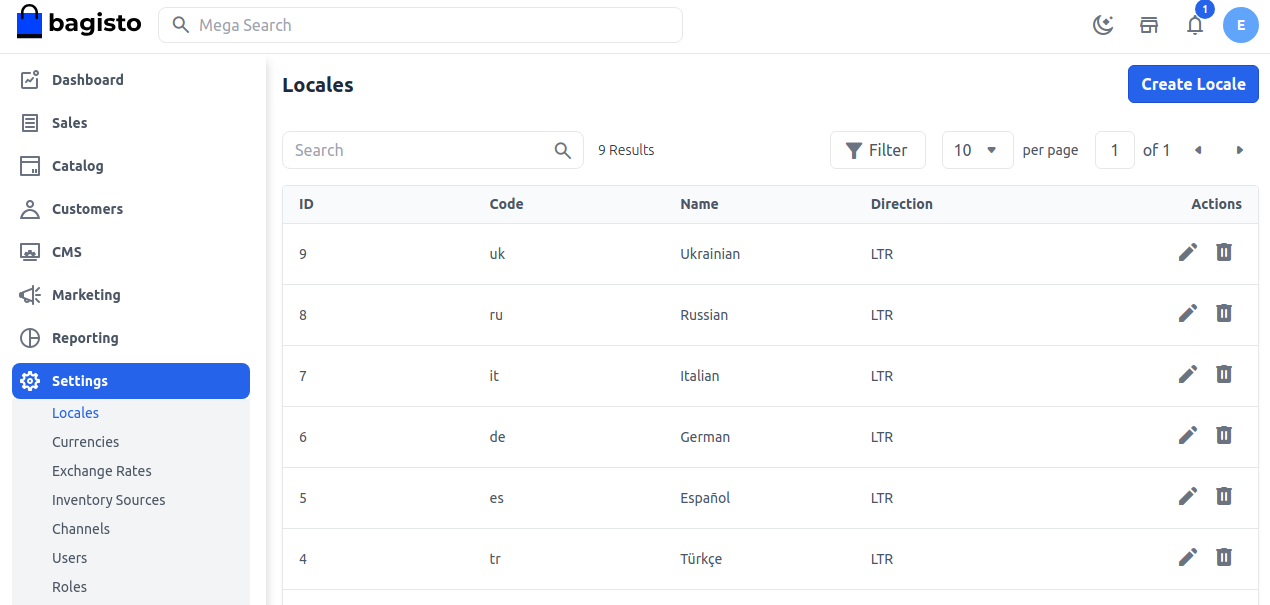
Step 1: On the Admin panel of Esrhovig, go to Settings >> Locales >> Create Locale as shown below.
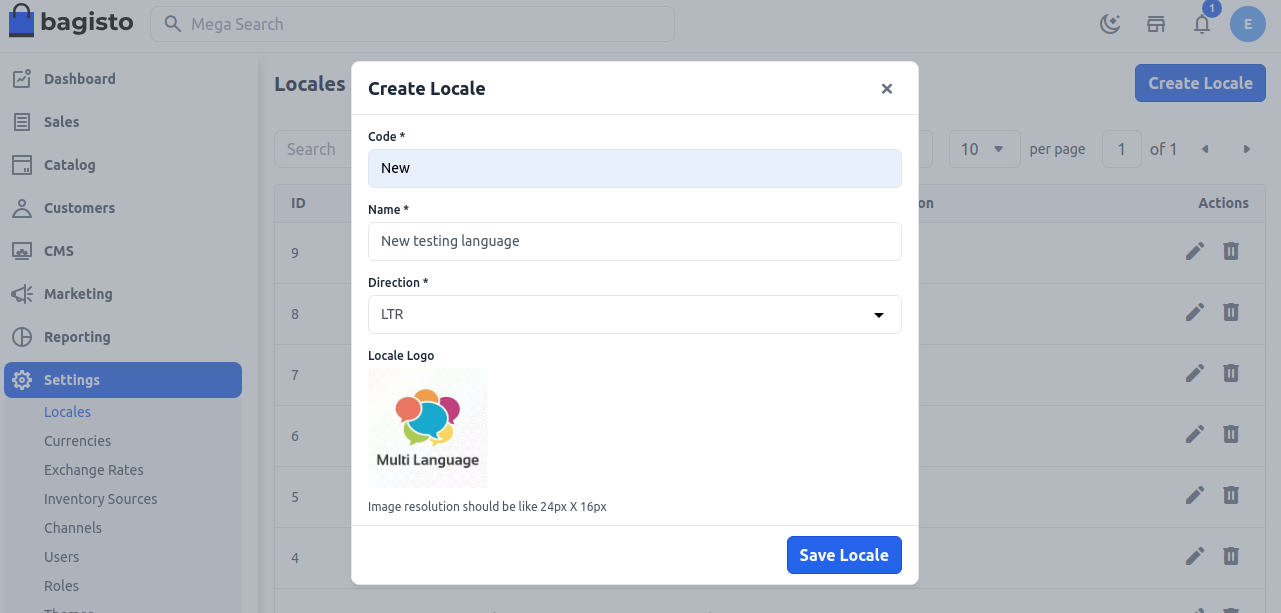
Step 2: Now add the following fields:
1. Code – Every language has its unique code.
2. Name – Name of the language.
3. Directions – Add the direction in which your language works LTR (Left To Right), RTL (Right To Left).
4. Logo – Add the logo of your language.
Now click Save Locale as shown in the below image.
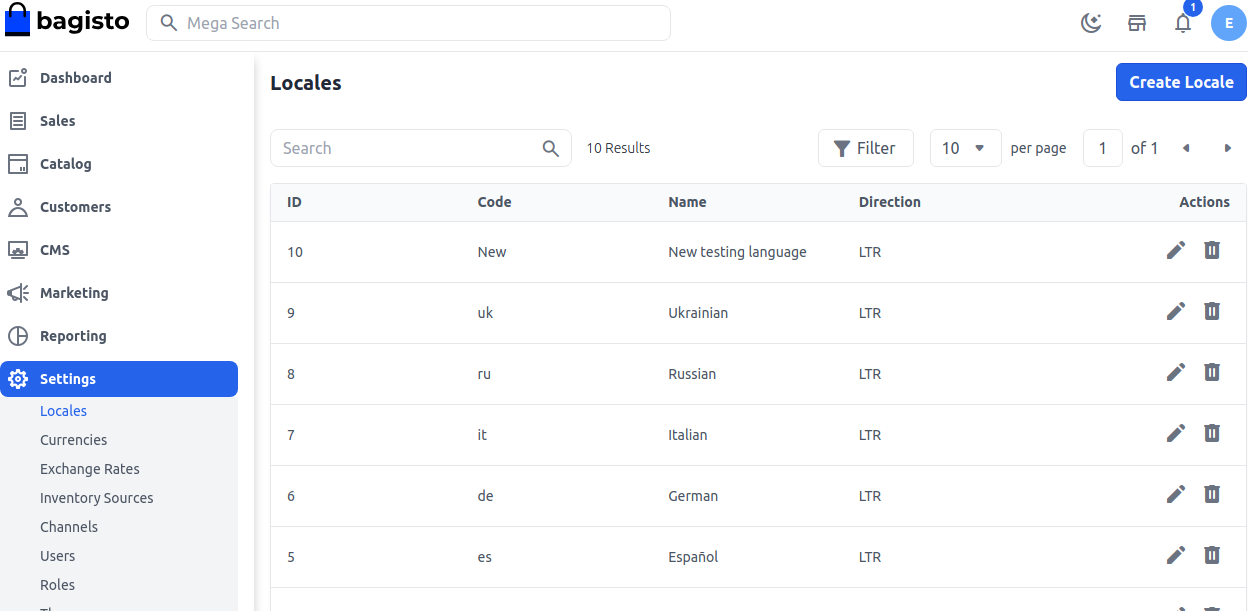
Step 3: You will now be able to see the new Locale as shown below.
Step 4: On the Admin panel, open Settings >> Channels. You will see your new language in the Currencies and Locales section. To enable this, select it and click Save Channel as shown in the image below.

So, by following these steps, you can easily create Locales in Esrhovig and make your website available in your desired language.