Appearance
Roles
Roles in Esrhovig allow the store owner to create users and assign permissions. This helps manage access levels for different users. Here’s how to create an admin ACL role in Esrhovig.
Create Roles
Step 1: In the admin panel, go to Settings >> Roles. Click on Create Role.

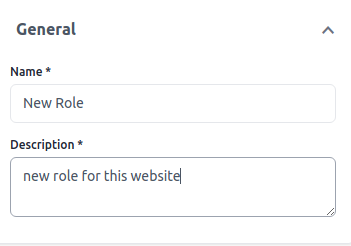
Step 2: Fill in the required details:
1. Name: Enter the role name.
2. Description: Enter the description of the role.
Step 3: Configure the Access Control permissions as needed.
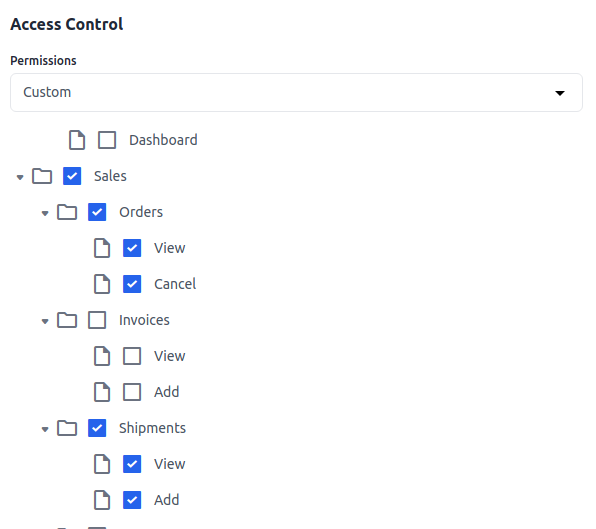
Click on Save Role.
Step 4: Once saved, the new Role will appear in the list as shown below.
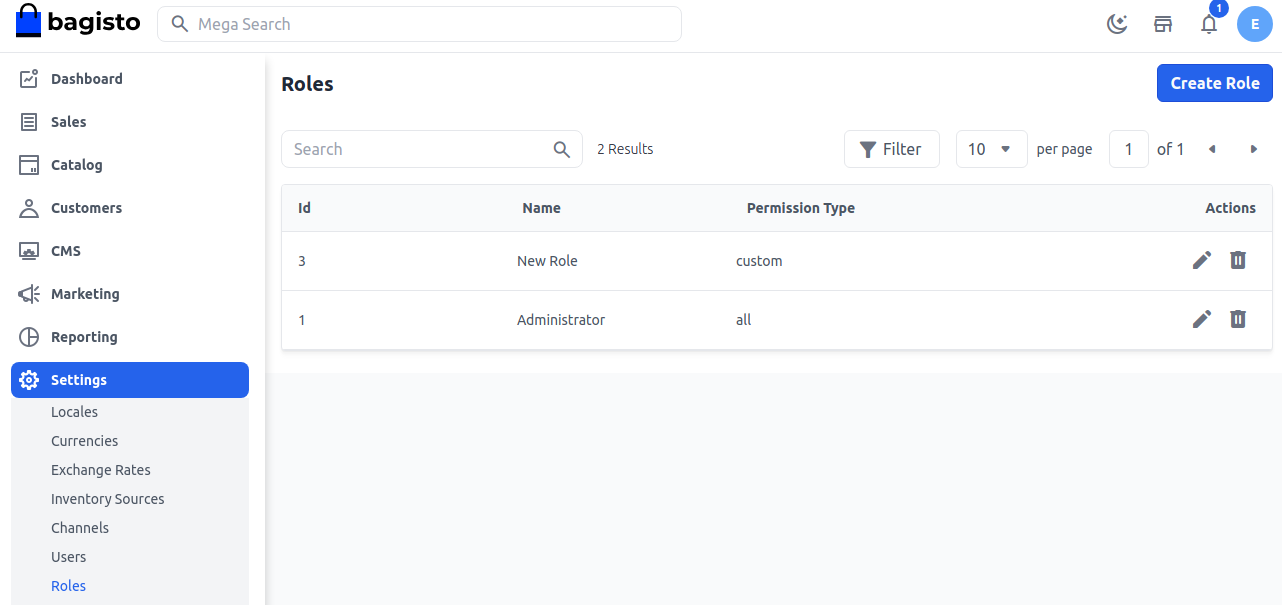
You have now successfully created a Role in Esrhovig.